Create the event
Once your vocabulary is ready, set up the event itself.
Create
- Open Events from the sidebar.
- Click Create event.
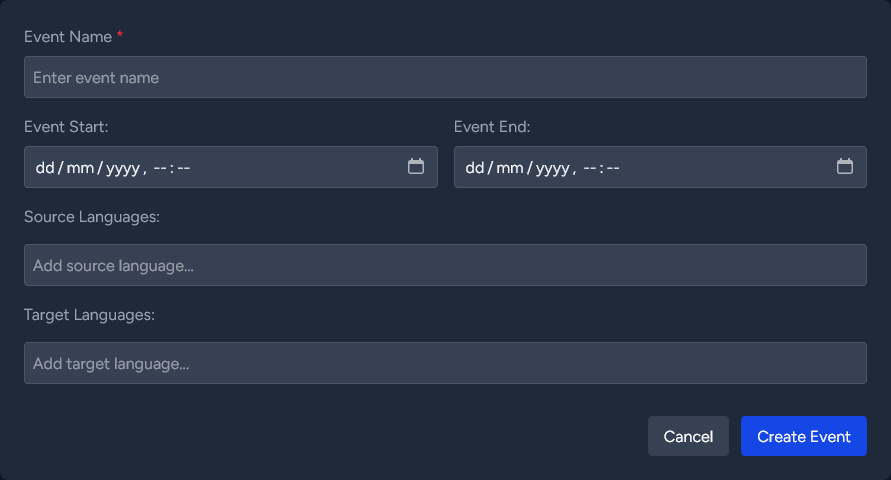
- Fill in the form:
- Name — what attendees will see on the spectator page.
- Start / End — optional. Use them so the event shows up in the right place in your lists.
- Source languages — the languages the speakers will use. Add more than one if speakers may switch.
- Target languages — the languages you want transcripts and translations in.
- Save.
Attach your vocabulary
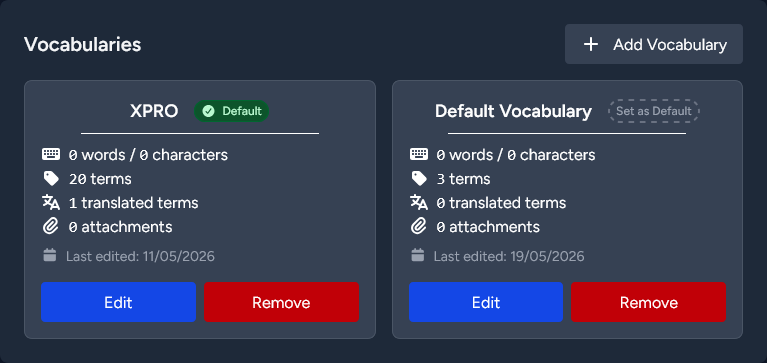
On the event detail page, click Add vocabulary and pick the one you built in step 1. The first vocabulary you attach is marked as the default automatically, so the controller picks it up when you start the session.
You can attach more than one vocabulary if the event covers multiple topics and switch between them at start-up time. Mark the one you want the controller to preselect as the default.
Edit any time
Click Edit Event in the top right of the event detail page. You can change the name, schedule, language lists, and attached vocabularies up until the moment you go live — and during the event too, though changes mid-session take effect when you restart the stream.
Optional: add a logo
While editing, you can also upload an event logo (up to 2 MB). It appears on the spectator page. An image between 4:3 and 16:9 aspect ratio works best.